Interiors and Circulation - Exercise 1
Learn Revit > Module 4 > Exercise 1
Exercise 1 — Creating a Stair and Ramp
In this exercise, you will learn to model stairs and ramps using the same technique of creating run lines (path lines).
Objectives:
-
Create stairs by sketching run lines.
-
Flip a stair direction and move a stair into place.
-
Create stairs with multiple runs and complex layouts (for example, L-shaped, U-shaped, and curved stairs).
-
Create and modify ramps.
Create a straight run stair
-
Download the start file here.
-
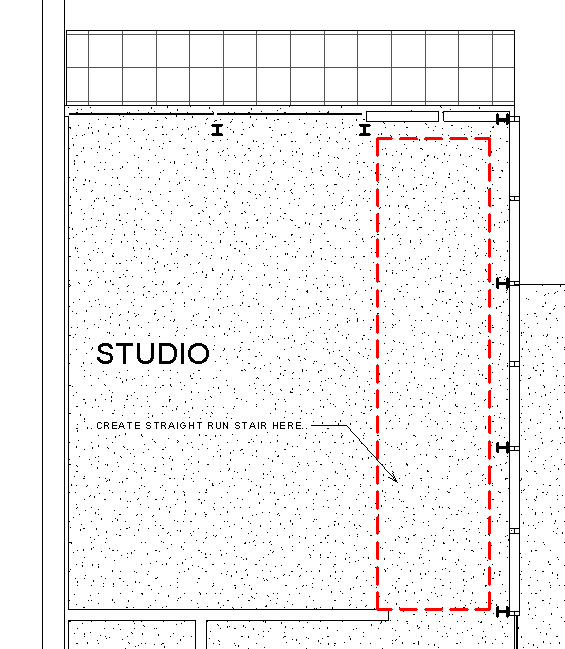
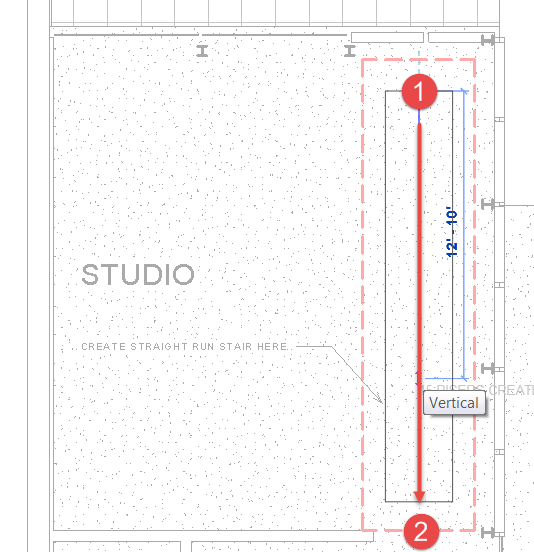
Open the First Floor plan view. The dashed red line boundary is where the stair will be placed.
-
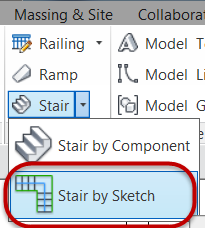
On the Architecture tab, Circulation panel, click the pulldown menu for Stair tool.
a. Select Stair by Sketch
b. Confirm that Base Level = First Floor, and Top Level = Second > Floor
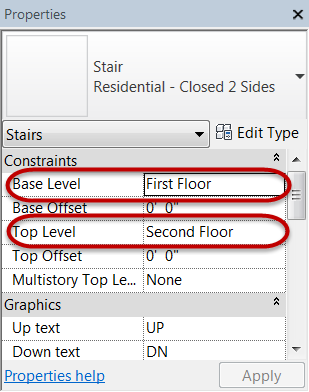
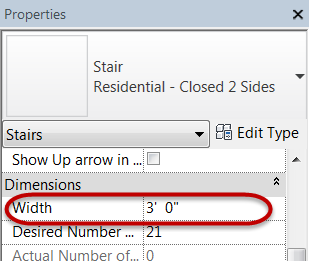
c. Confirm that stair width = 0.91m
d. Set the base of the stair at Mark 1 by left clicking the mouse and dragging the cursor downward to Mark 2 outside of the bounding box and left click to set the upper end point of the stair.
e. Sketch linework will appear.
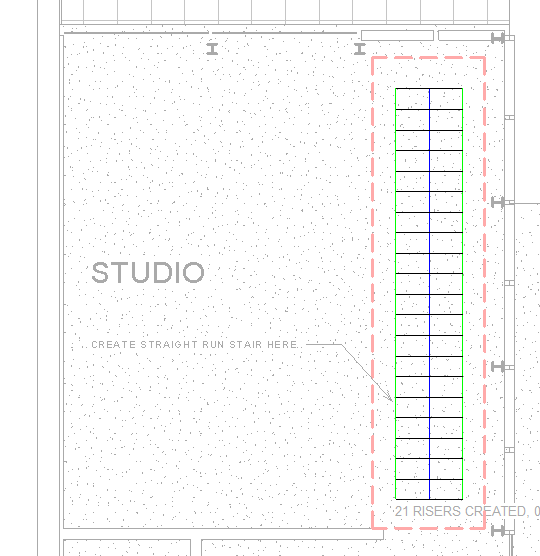
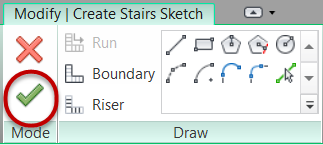
f. Click Finish Edit Mode to create the 3D stair.
-
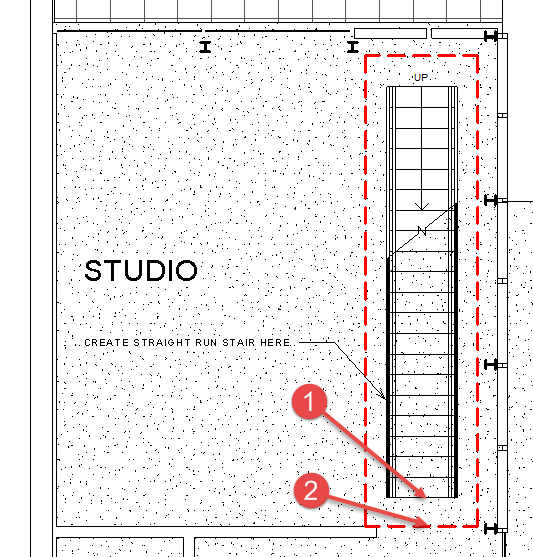
Move the stair into its final position.
a. Select the stair element.
b. Use the Move tool and set a base point at Mark 1 and the destination point at Mark 2.
Create an L-shaped ramp
-
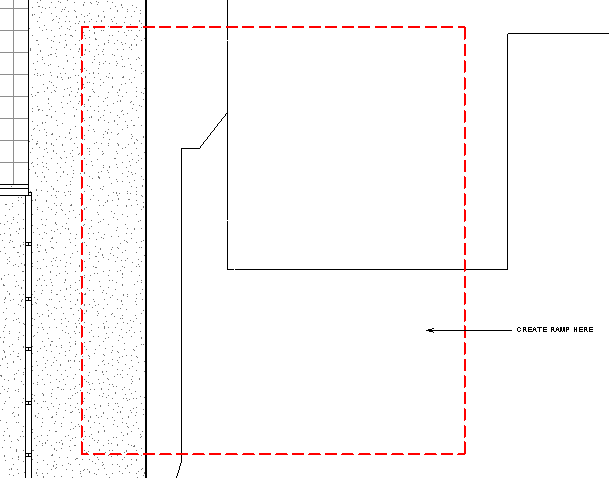
In the First Floor plan view, pan downwards until you see the dashed red line boundary where the ramp will be placed.
-
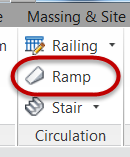
On the Architecture tab, Circulation panel
a. Click the Ramp tool.
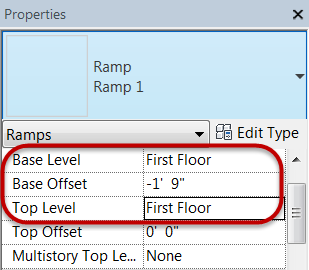
b. Confirm that Base Level = First Floor, Base Offset = -0.53m, and Top Level = First Floor
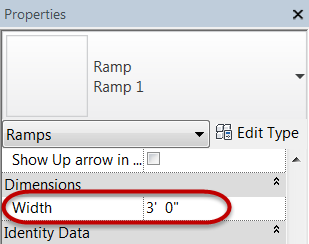
c. Confirm that the ramp width = 0.91m
d. Set the base of the ramp at Mark 1 by left clicking the mouse and dragging the cursor downward 4.57m to Mark 2 and left click, move the cursor to Mark 3 and left click, and then move the cursor to the left and outside of the bounding box and left click to set the upper end point of the stair at Mark 4.
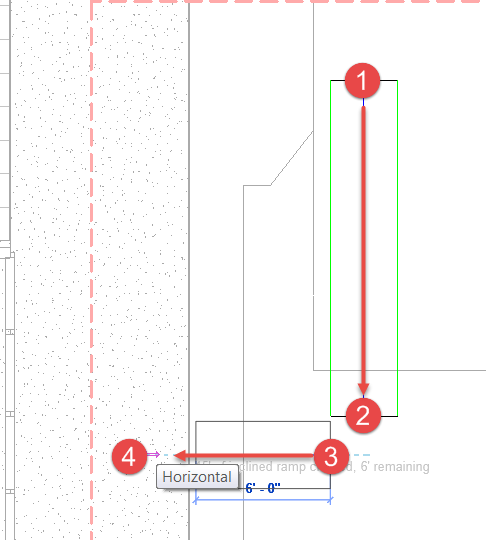
*Note: We will move the ramp to its final position in a later
step.*
e. Sketch linework will appear.
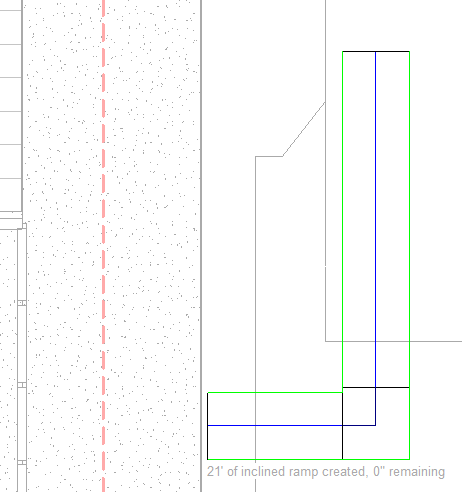
*Note: Confirm that 0" is remaining.*f. Click Finish Edit Mode to create the 3D ramp.
-
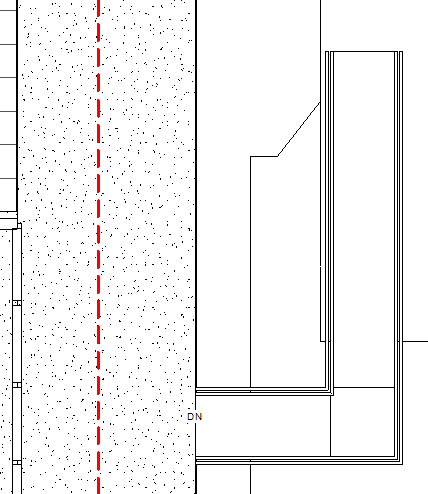
Move the ramp into its final position.
-
Ramp fit and finish items.
a. Open {3D} 3D View.
b. Delete the ramp railings
c. Select the ramp and set the Top Offset = -0.1m to align with the sidewalk.
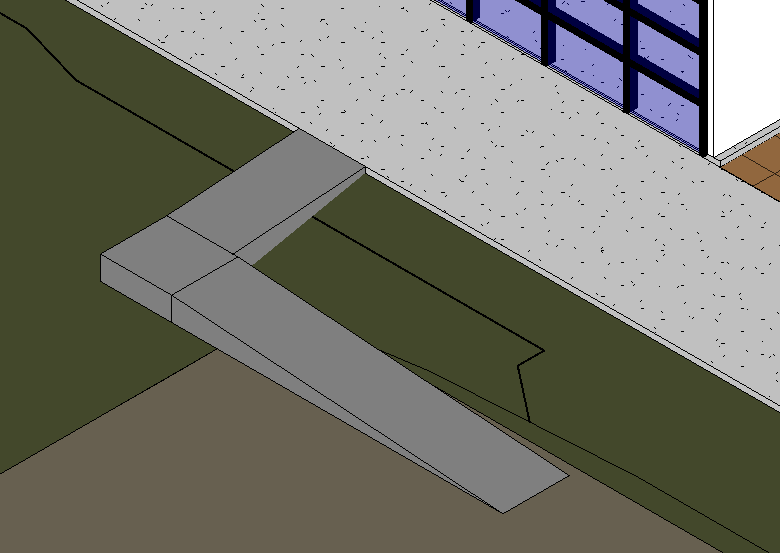
d. Make ramp solid.
i.  Select ramp element.

ii. In Properties palette, click Edit Type.

iii. Change Shape value = Solid.
iv. Click OK.

v.  Click Modify to end the command.
e. Final ramp result shown below.
-
Save the Revit file as: Module04Ex01_Finished.rvt