Curtain Systems - Exercise 4
Learn Revit > Module 3 > Exercise 4
Exercise 4 — Placing Doors in Curtain Walls
In this exercise, you will learn about a custom door type specifically designed for curtain walls for the house used in the previous exercise using Autodesk Revit.
Objectives:
-
Adjust curtain grid segments to create a panel with the dimensions for a desired door opening.
-
Change a curtain wall panel element into a single or double door.
Assign curtain panels to specific locations on a curtain wall by substitution in-place
-
Download the start file here.
-
Open the South-Studio elevation view.
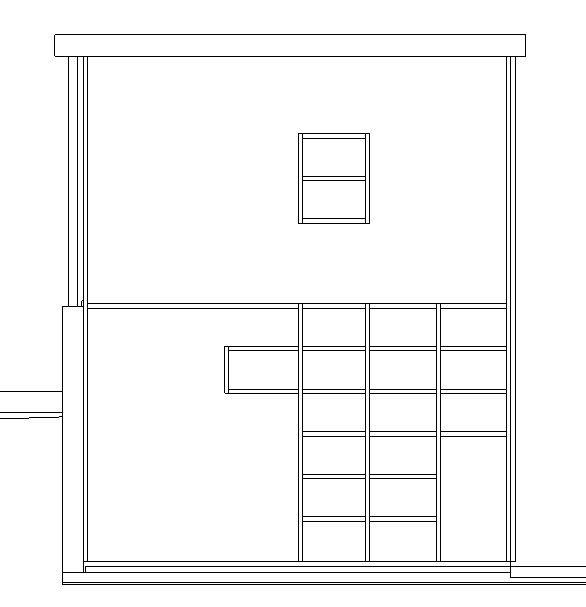
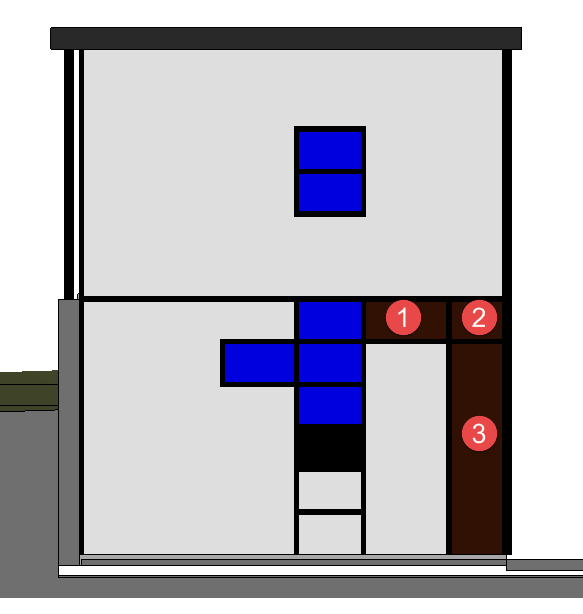
a. The curtain panel layout looks like this initially..
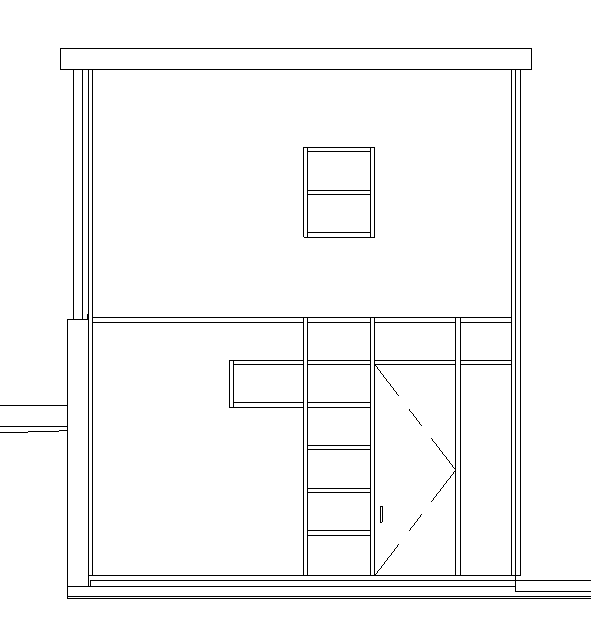
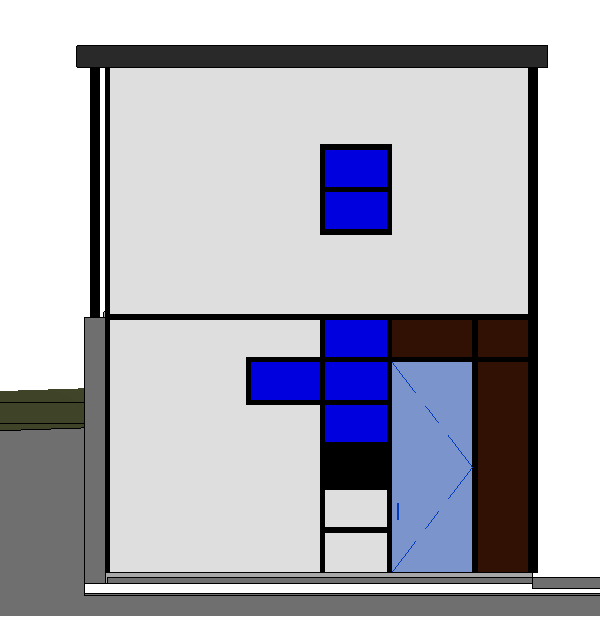
b. The finished curtain panel should look like this.
-
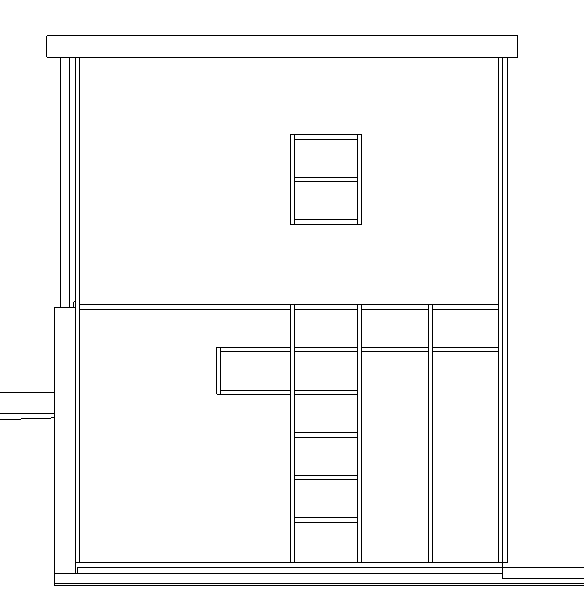
Modify the curtain grid lines as shown below using the techniques learned in Exercise 2 of this module.
-
Change width of curtain panel indicated by Mark 1 below to receive a door.
a. Select curtain grid line to reveal temporary dimensions.
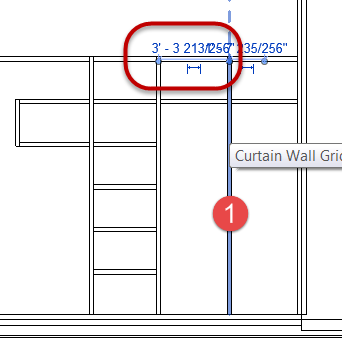
b. Set width = 4’-0” (1.21m)
c. Hit the Enter key to accept value.
-
Assign the numbered curtain panels below, curtain panel type: Wood – Dark.
-
Assign the highlighted panel in light blue below, curtain panel type: Curtain Wall Single Door - Wood
-
Save the Revit file as: Module03Ex04_Finished.rvt
This concludes Exercise 4.