Curtain Systems - Exercise 2
Learn Revit > Module 3 > Exercise 2
Exercise 2 — Adjusting Grid Lines
In this exercise, you will explore designing a creative curtain grid layout for the same house used in the previous exercise using Autodesk Revit.
Objectives:
-
Add new grids to existing curtain walls.
-
Edit existing curtain grid lines and segments.
-
Add mullions to curtain grid lines.
-
Pin and unpin curtain system elements to prevent or allow changes to the layout.
Modify North side residence curtain wall design
-
Download the start file here.
-
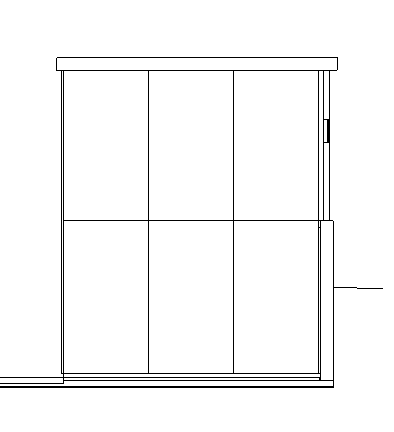
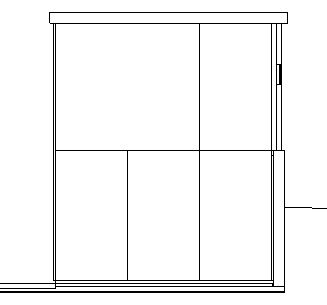
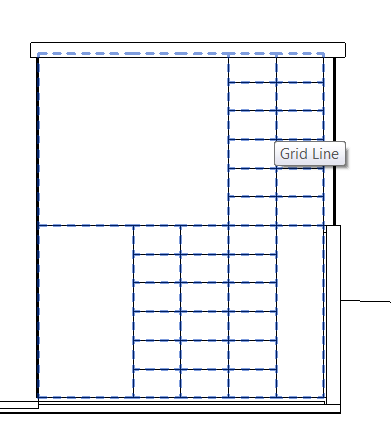
Open North-Residence elevation view. The curtain grid layout currently looks as shown below.
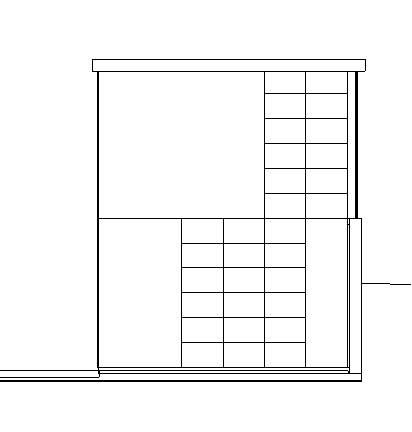
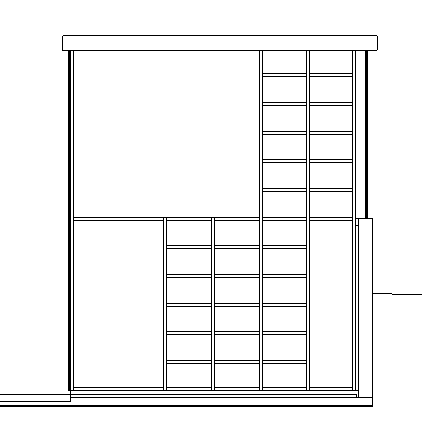
When you are finished, the curtain grid layout should look as shown below.
-
Deleting grid segments.
a. Select grid line to be modified indicated by Mark 1 below.
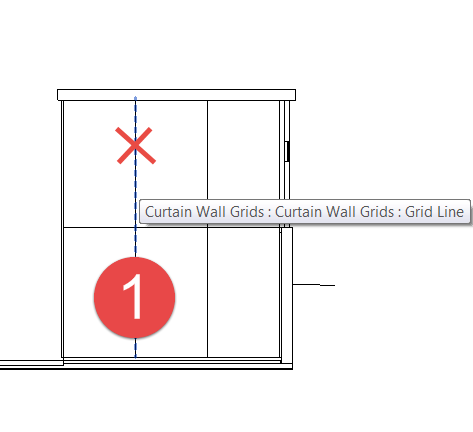
Note: You may need to use the TAB key to cycle to the nested grid line element.
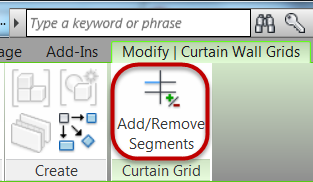
b. Click the Add / Remove Segments command.
c. Click the grid segment indicated by the red X to remove it.
d. Click Modify command to end the command.
e. Confirm your result below.
-
Adding grid segments entire length.
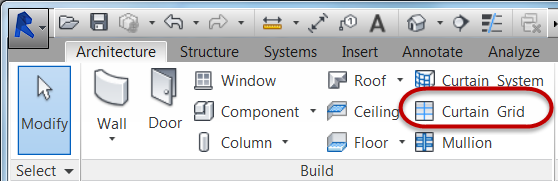
a. On the Architecture tab, Build panel, Click the Curtain Grid command.
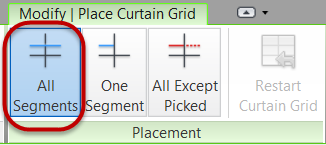
b. Click the All Segments command.
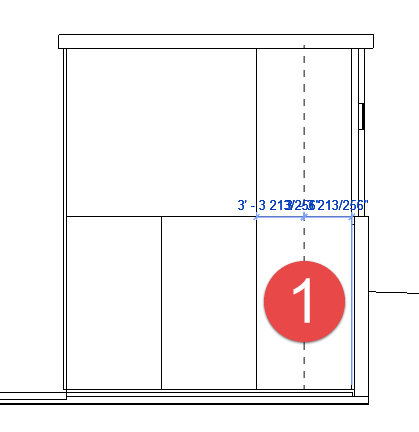
c. Snap a grid line at Mark 1 shown below. Hover over the bottom of the curtain wall and find the midpoint snap for that panel and left click with mouse to insert grid line.
-
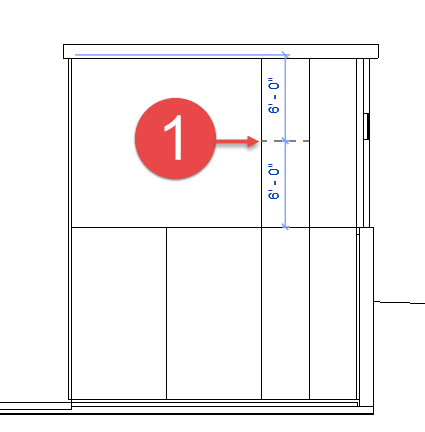
Adding grid segments for one segment.
a. Click the Curtain Grid command.
b. Click the One Segment command.
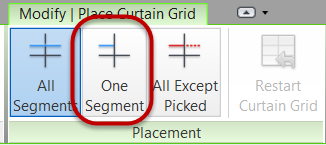
c. Snap a grid line at Mark 1 shown below. Hover over the bottom of the curtain wall and find the midpoint snap for that panel and left click with mouse to insert grid line.
-
Continue the grid layout process using the previous techniques until your elevation looks like the one below.
-
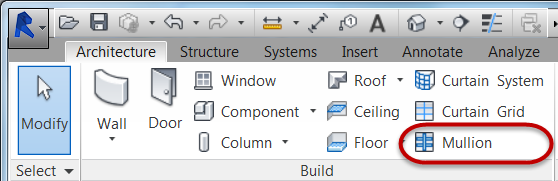
Add 3D mullions to curtain grid lines
a. On the Architecture tab, Build panel, Click the Mullion command.
b. On the Placement panel, Click the All Grid Lines command.
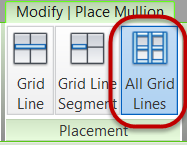
c. Place your cursor over any grid line on that curtain wall and left click with mouse to apply 3D mullions to the entire curtain wall.
-
Finished result shown below.
-
Save the Revit file as: Module03Ex02_Finished.rvt