Building Envelope - Exercise 3
Learn Revit > Module 2 > Exercise 3
Creating Roof Shapes
In this exercise, you will create two hip roofs and join them for the house used in the previous exercise using Autodesk Revit.
Objectives:
-
Create roofs by specifying their footprint and adjusting their properties.
-
Modify a roof footprint and slope-defining edges to fine-tune the shape and create various roof shapes and forms.
-
Create a custom roof form by extruding a roof surface from a sketched profile.
Create a hip roof over the main living area
-
Download the start file here.
-
Open the Roof-Living & Bedrooms plan view. Focusing on roof 1.
-
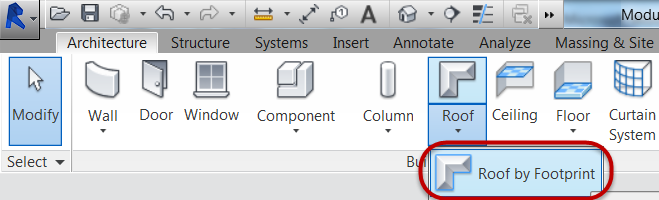
On the Architecture tab, click Roof by Footprint.
-
In Properties Palette, select Basic Roof Generic - 12” roof type and set Base Offset from Level = 0’-0” (0m).
-
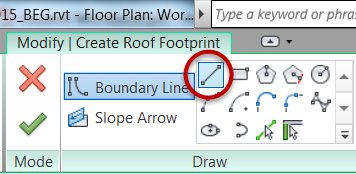
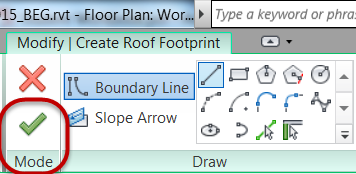
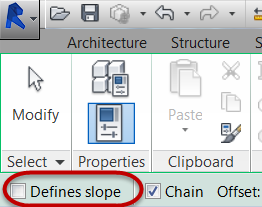
In Modify | Create Roof Footprint tab, confirm Boundary Line and Line mode is selected.
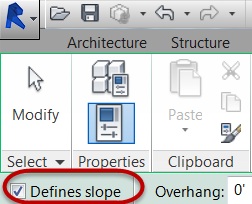
a. Mark Defines slope check box.
-
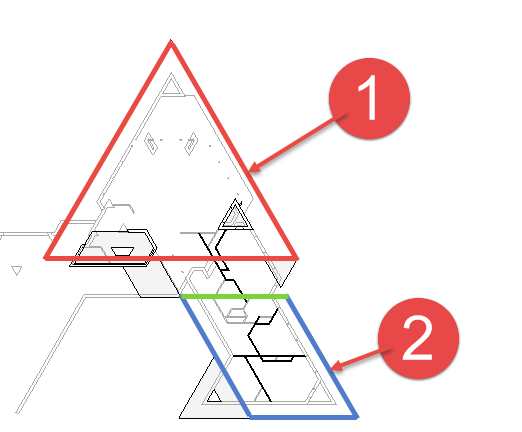
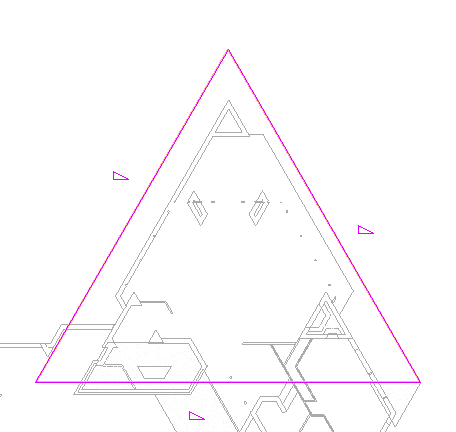
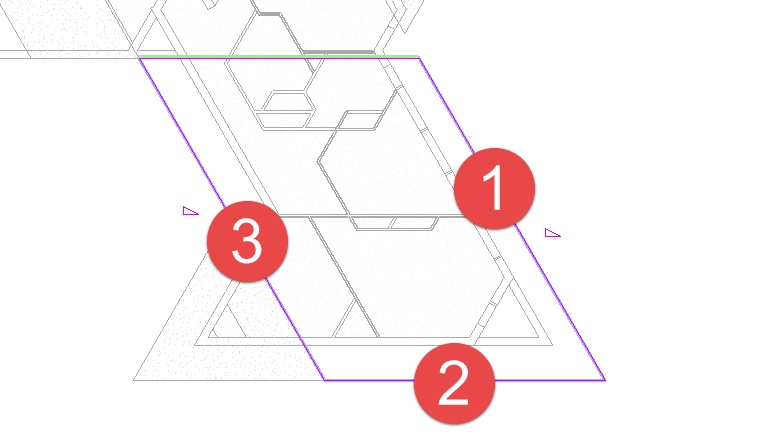
Create a closed boundary as indicated by the 3 sketch lines shown in red for roof form 1.
a. Click Modify command to end sketching.
*Note: Linework must be contiguous.* -
Set the roof pitch for the sloped linework.
a. Window select all of the sketch linework for the roof sketch.
b. In Properties palette, set pitch to 3” (0.0762m).

-
Click Finish Edit Mode to create the 3D roof element.
Note: If you receive error messages, confirm that none of the linework overlaps itself. Then try Finish Edit mode again.
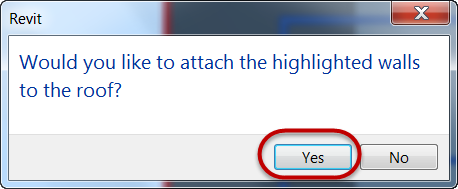
a. Attach highlighted walls to roof? Click Yes.
-
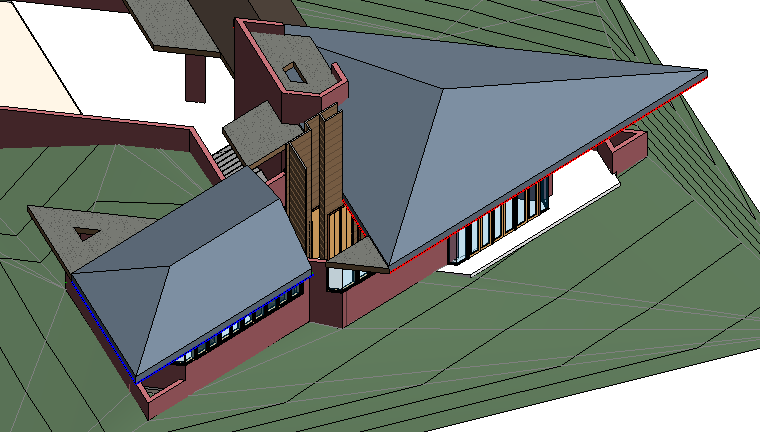
Roof progress shown below.
Create a hip roof over the bedroom area
-
Open the Roof-Living & Bedrooms plan view. Focusing on roof 2.
-
On the Architecture tab, click Roof by Footprint.
-
In Properties Palette, select Basic Roof Generic - 12” roof type and set Base Offset from Level = 0’-0” (0m).
-
In Modify | Create Roof Footprint tab, confirm Boundary Line and Line mode is selected.
a. Mark Defines slope check box.
-
Create the 3 sketch lines shown below in blue for roof form 2.
a. Hit ESC key once to pause sketching continuously.
b. Unmark Defines slope check box.
a. Create 1 sketch line shown below in green for roof form 2 to create a closed boundary.
-
Set the roof pitch for the sloped linework.
a. Select the 3 sketch lines below.
b. In Properties palette, set pitch to 3” (0.0762m).
-
Click Finish Edit Mode to create the 3D roof element.
Note: If you receive error messages, confirm that none of the linework overlaps itself. Then try Finish Edit mode again.
a. Attach highlighted walls to roof? Click Yes.
-
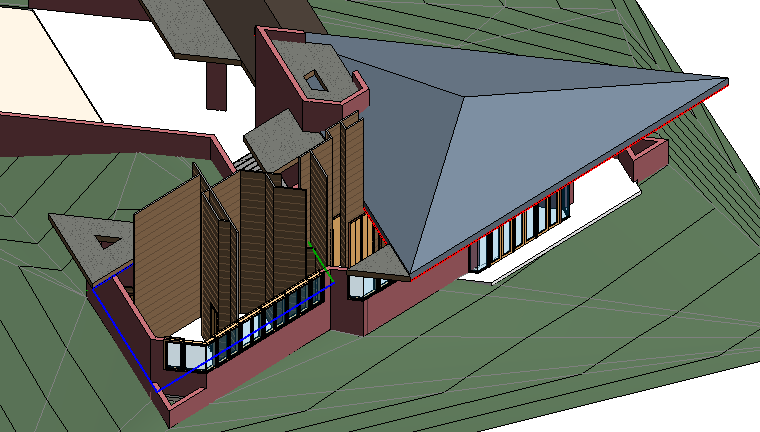
Roof progress shown below.
Join the two hip roofs together
-
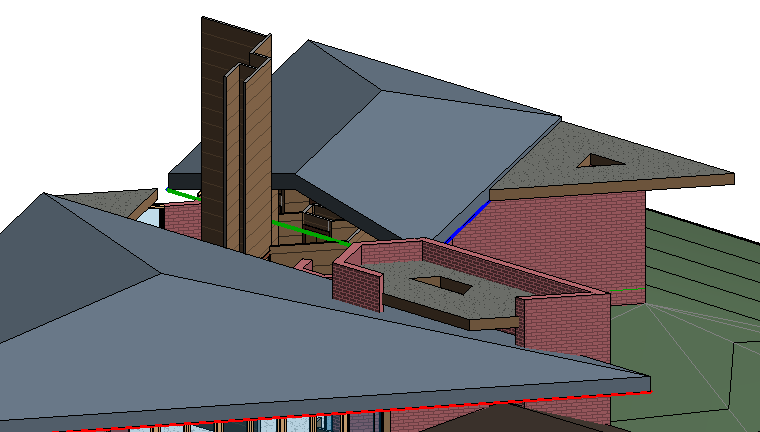
Open the {3D} 3D View. Orbit the view to the following orientation shown below where we can see the gable end of the bedroom roof created in the previous step.
-
Select the bedroom roof, the one with the gable end facing you on-screen.
-
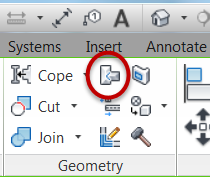
On the Modify | Roofs tab, Geometry panel, click the Join / Unjoin Roof tool.
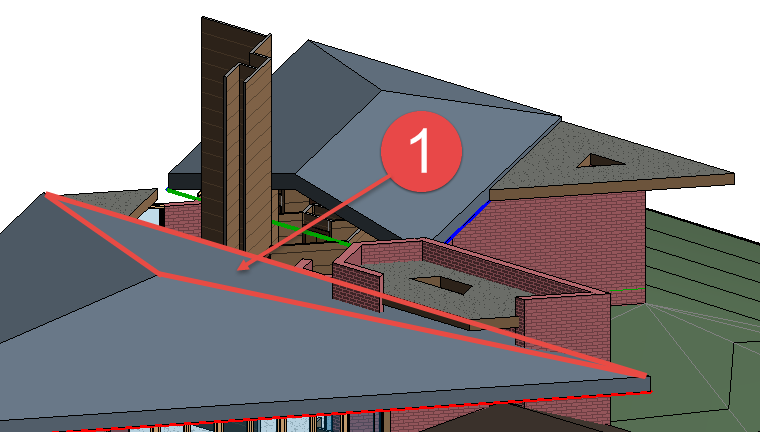
a. Select the top edge of the bedroom roof as indicated by Mark 1 below.
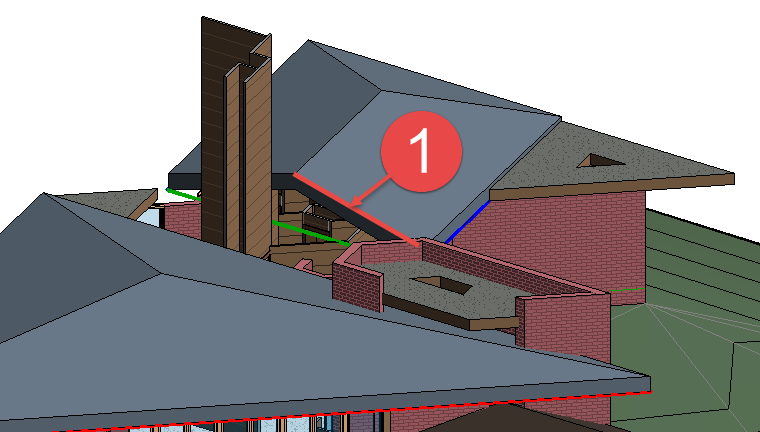
b. Then, pick the face of the main living room roof to project to as indicated by Mark 1 below.
-
Roof progress as shown below.
-
Cleanup the interior walls projecting through the bedroom roof.
a. Select the interior walls.
b. Click Attach / Top Base command.
c. Select bedroom roof.
-
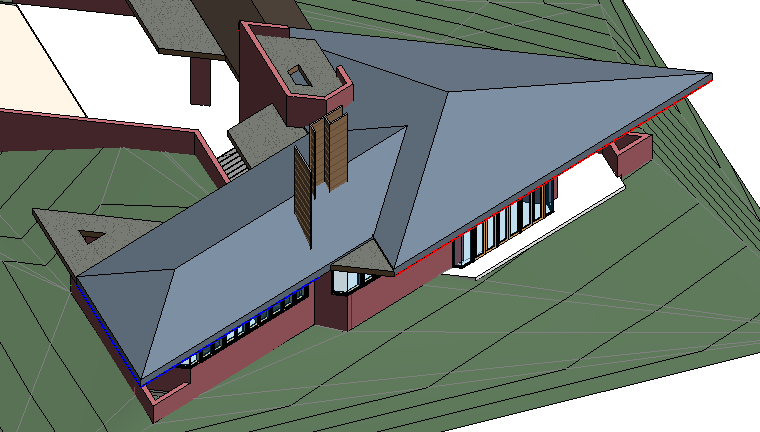
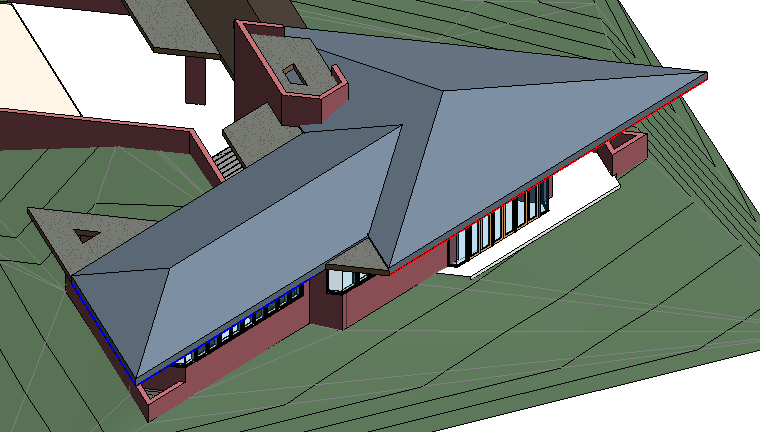
Roof completed as shown below.
This concludes Exercise 3. Save the Revit file as: Module02Ex03_Finished.rvt and hand in.